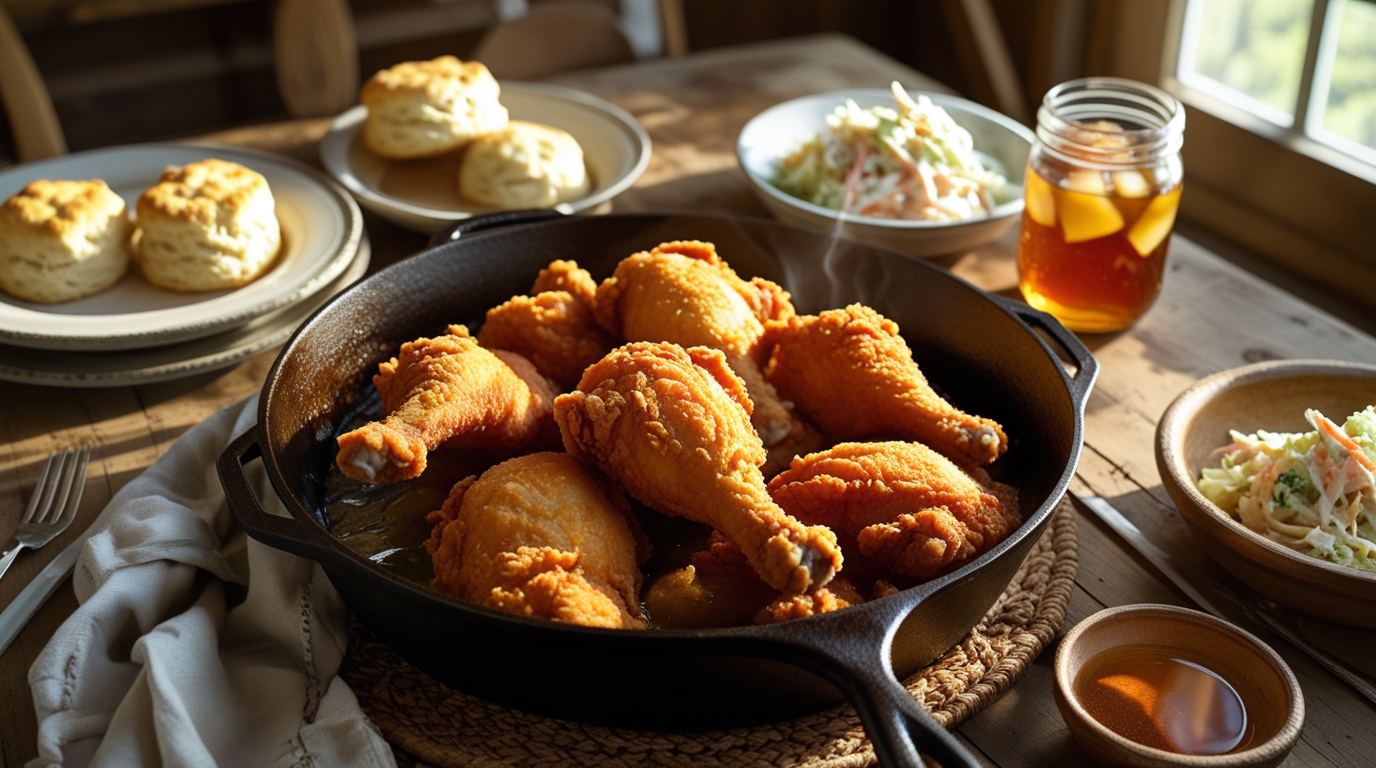
fried chicken recipe : Hello food lovers! Have you ever walked past a restaurant and smelled that irresistible aroma of fried chicken and instantly wanted to devour it? The golden, crispy exterior and the soft, succulent meat inside… it’s magic on a plate.
But making the perfect fried chicken at home is a big challenge, friends. Sometimes it’s soggy? Sometimes the spices don’t penetrate? To solve these mysteries, we didn’t just find a recipe, but reached out to an expert.
Meet Chef Rohan, who has over 20 years of experience and has mastered the art of frying. “The perfect fried chicken is a beautiful science. It’s all about controlling moisture, heat and time. With a little knowledge, anyone can make it,” he says.
So here we go, folks! This guide will walk you through every step of the way, with Chef Rohan’s pro tips, so that your homemade fried chicken is a star.
Read More: Unlock the Secret: How to Make Perfect Restaurant Style Butter Chicken Recipe at Home
Table of Contents
The Secret Science of the fried chicken recipe
Before we get into the recipe, let’s first understand why we do what we do. It’s not just a matter of mixing flour and frying; it’s chemistry!
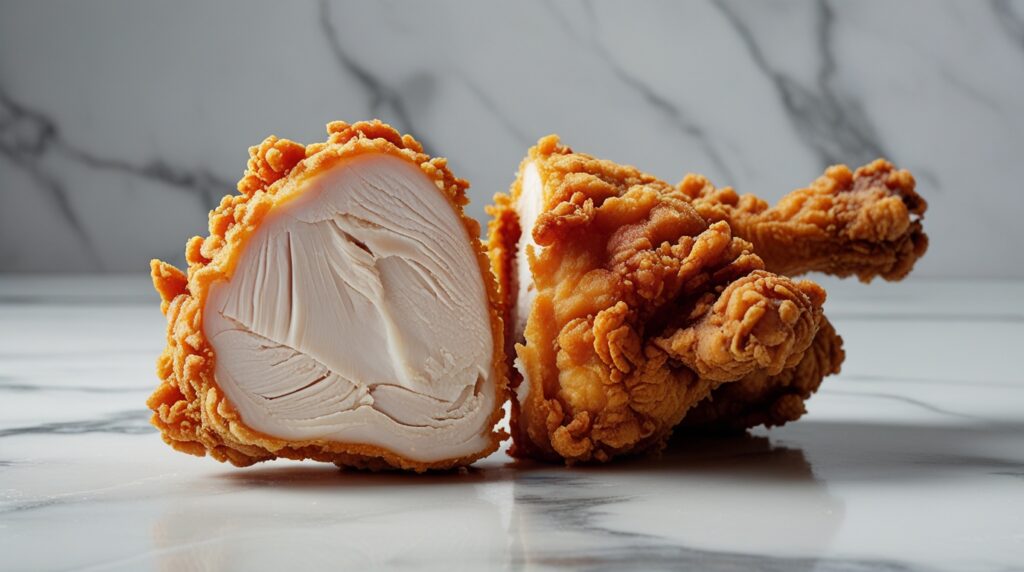
- Crust: When our spiced flour coating meets hot oil, two amazing things happen. First, the water on the surface rapidly turns into steam. Second, a process called the Maillard Reaction takes place. It’s a fancy term for the browning that creates that incredibly delicious flavor and that iconic golden color. The right temperature is key for this.
- Juicy (inside the chicken): The crust acts like a protective shield. This seals the chicken, trapping all the natural juices and steam inside, which cooks the meat gently, making it incredibly tender.
Chef Rohan explains: Think of the coating like a protective shield. It keeps the goodness in and the oil out of the chicken, thus avoiding greasy chicken.
Your fried chicken recipe Toolkit:Gathering the Ingredients
For the marinade: (fried chicken recipe)
- Chicken: 1 whole chicken, cut into 8 pieces (leg, thigh, wing, breast), or 1 kg of your favorite parts. Using bone-in, skin-on pieces is highly recommended for the juiciest results.
- Buttermilk: 2 cups (500 ml). This is the secret weapon! The mild acid in buttermilk tenderizes the chicken beautifully and adds a light tang. Don’t have buttermilk? No problem! Make your own: Mix 1.5 cups of regular milk with ½ cup plain yogurt or 2 tablespoons lemon juice/vinegar. Let it sit for 10 minutes.
- Marinade spices: 1 tsp red chili powder, 1 tsp black pepper, 2 tsp salt.
For the Coating: (fried chicken recipe)
- All-Purpose Flour: 2 cups
- Cornstarch (Cornflour): ¼ cup (This is a pro-tip! Cornstarch makes the coating extra crispy and light.)
- Spices: 2 tsp garlic powder, 2 tsp onion powder, 1 tbsp paprika, 1 tsp dried thyme or oregano, 1-2 tsp black pepper, salt to taste.
For the Frying: (fried chicken recipe)
- Oil: Use a neutral oil that has a high “smoke point,” meaning it can get very hot without burning. Peanut oil, canola oil, or sunflower oil are perfect choices. You want enough oil to fill your pot or wok about 3-4 inches deep.
Step-by-Step Recipe: Let’s Start Cooking!
Step 1: The Long, Delicious Marination
In a large bowl, combine the buttermilk, cayenne powder, black pepper, and salt. Add the chicken, making sure each piece is completely submerged. Cover the bowl and place in the refrigerator.
Time: At least 4 hours, but overnight (8-12 hours) is BEST. This is non-negotiable for the most delicious and tender chicken. Patience is a must!
Step 2: The Delicious Coating
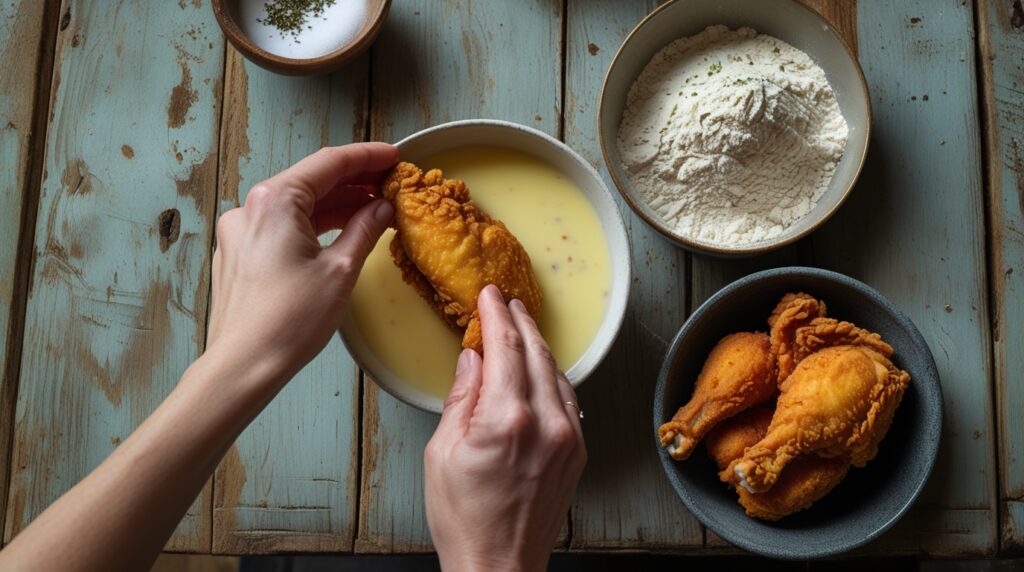
In another large bowl or sturdy paper bag, combine the flour, cornstarch, and all the dry spices together. Mix them very well so that every bite tastes delicious.
Step 3: Double-dip (for extra crunch!)
Remove a piece of chicken from the buttermilk marinade. And let the excess buttermilk drip off.
Dredge it in the flour mixture. Press the flour onto the chicken so it sticks well.
For an extra crispy and crackly crust: Dip the flour-coated piece in the buttermilk again for a second, and then dredge it in the flour mixture again. This “double-dip” method creates those lovey, crunchy bits everyone fights for.
Step 4: The Necessary Rest
Place all the coated chicken pieces on a rack. Let them rest for 10-15 minutes. This allows the coating to set and dry out a bit, which prevents it from falling apart in the oil.
Step 5: The Big Fry – Temperature is King!
Heat the oil in a wok. And check the temperature with a thermometer. If you don’t have a thermometer, test it by dropping a small piece of dough into the oil. If it sizzles immediately and floats to the top, it’s ready.
Carefully drop 2-3 pieces of chicken into the hot oil. Don’t overcrowd the pot! Adding too many pieces will lower the temperature of the oil, leading to soft chicken.
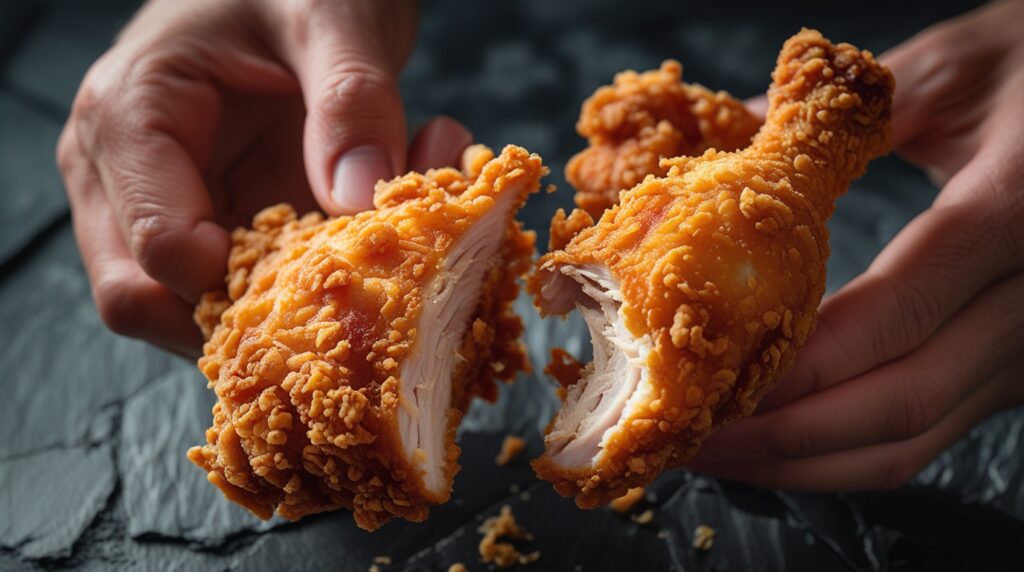
Then fry for about 10-15 minutes, turning occasionally, until the chicken is deep golden brown and crispy.
The safest way to check is to use a meat thermometer. The internal temperature should be 75°C. If you don’t have one, stick a knife into the thickest part of a piece; the juices should run clear, not pink.
Step 6: The Final Touches – Remove and Let Rest Again
Once the chicken is fried, remove the chicken and place it on a rack. Leave it to rest for 5-10 minutes before serving. This will allow the juices to soak back into the meat, keeping every bite moist.
Expert Corner: Chef Rohan’s Golden Rules
“Season every layer.” Don’t be shy with the salt and spices. Season both the marinade and the flour. This creates depth of flavor.
“Control your temperature.” This is the most important rule, folks. Too hot will burn the outside before the inside is cooked through. Too cold, and the chicken will soak up the oil.
Once you add the chicken to the oil, don’t move it for the first minute. This will allow the crust to form properly so it won’t stick to the pot.
How to make it healthier? Let’s talk about air frying!
We know frying isn’t an everyday chore. For a healthier version, the air fryer is a great option.
How to: Prepare the chicken exactly as directed (marinate, double-dip in flour). Preheat your air fryer to 200°C. Spray a little oil on the coated chicken. Air fry for 15-20 minutes, flip, and then air fry for another 10-15 minutes until crispy and firm on the inside.
A quick stat: according to a study published in the Journal of Food Science, air-frying can reduce fat content by 70-80% compared to deep-frying. It’s a great way to enjoy crunch with less guilt, especially for kids.
Conclusion: You’re now a fried chicken recipe champion!
Making incredible fried chicken at home is not only possible; it’s incredibly rewarding. It’s all about understanding the simple science behind it and respecting the process—long marination, well-seasoned flour, precise oil temperature, and patient resting.
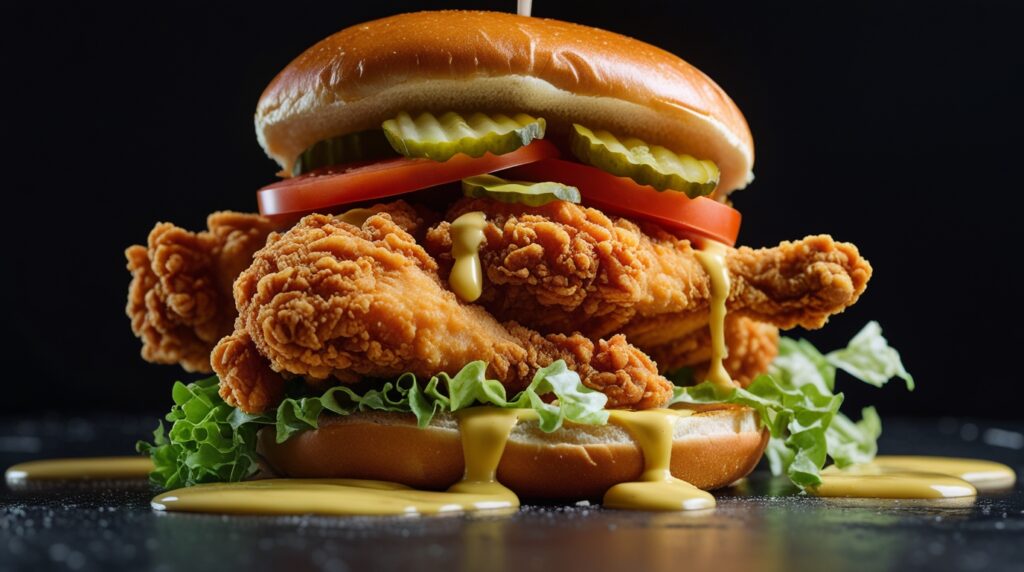
So, gather your ingredients, unleash the chef inside you, and create that magic. The result will be a plate of golden, crispy, juicy fried chicken that’s made with love and ready to make everyone sitting at your table go “wow!”
Happy Frying